Flash Forward: Ingenious Chimney Flashing Hacks for Leak-Proof Roofs
Water intrusion into the chimney and roof is like a death by a thousand cuts for your home. That’s why flashing is essential to keep water from getting in, causing cracks, mold, mildew, and rot. Let’s explore what chimney flashing is and some easy hacks you can use to ensure a watertight seal.
What is Chimney Flashing?
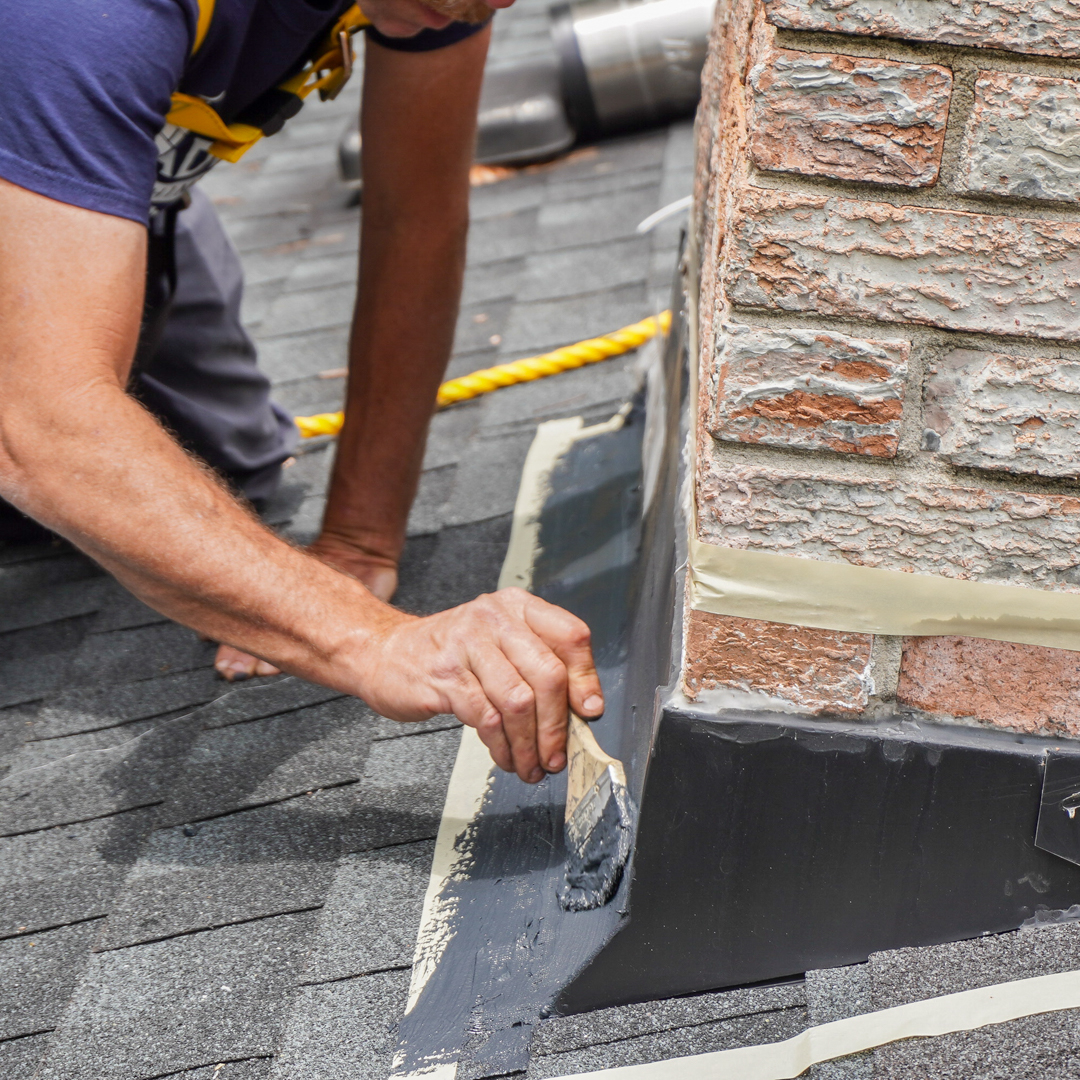
Chimney flashing is a protective system made up of thin sheets of metal installed where the chimney meets the roof. Its purpose is simple, but crucial, to keep water from seeping into the gap between the roof and the chimney. Without flashing, you risk rainwater, melting snow, and debris entering the attic, insulation, or interior walls, which can lead to rot, mold, and mildew.
Flashing is the barrier that prevents all that by directing water away from the vulnerable cap and down the roof. Because chimneys rise vertically through a sloped roof, they create a natural weak point in the weather protection. Properly installed flashing ensures this gap stays watertight and the roof remains protected.
Understanding the Parts of Chimney Flashing
Before diving into our tips, it’s good to know what chimney flashing is made of. A typical flashing system has two main parts.
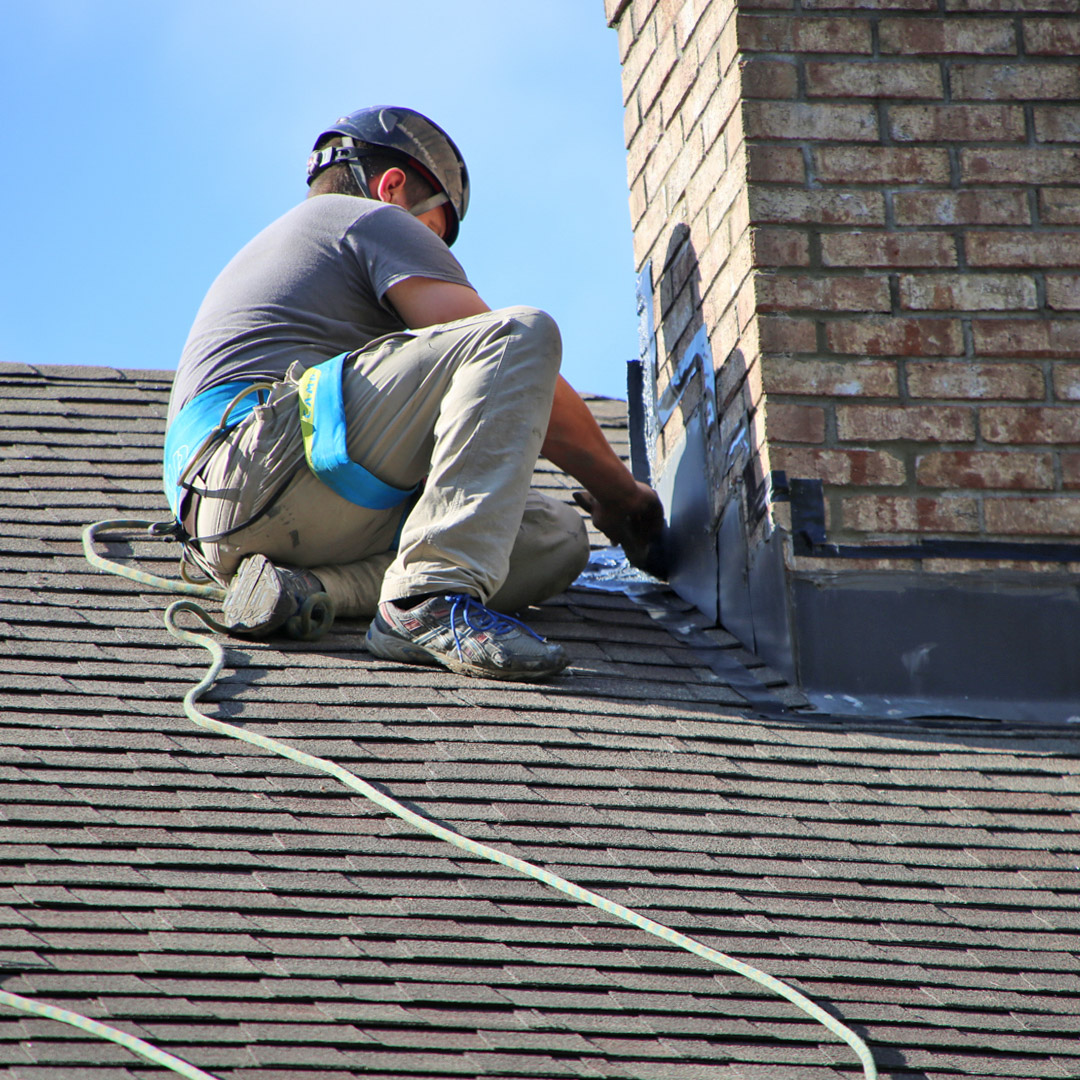
Step Flashing
Step flashing is an L-shaped metal piece that is woven into each layer of shingles along the sides of the chimney. They divert water away from the joint where the roof and chimney meet.
Counter Flashing
Counter flashing (cap flashing) is installed into the mortar joints of the chimney and overlaps the step flashing. The job of counter flashing is to cover the top edge of the step flashing, preventing water from seeping in behind it.
Together, these layers create a watertight seal. If either part is missing or loose, water can easily get in.
Choose the Right Flashing Material
Not all flashing materials are created equal. The type of metal used can affect the lifespan of your flashing and its performance under various weather conditions. Here’s what to know.
Aluminum is affordable and easy to shape, but it can corrode when it comes into contact with certain materials, such as wet mortar or treated wood.
Copper is highly durable and corrosion-resistant. It also weathers beautifully over time. The only downside is the higher cost.
Galvanized steel is a strong, budget-friendly option, but it’s prone to rusting sooner than copper or aluminum if not properly coated.
Lead is the least commonly used, mainly seen in older homes. Lead was initially chosen for its flexibility and long lifespan, but it’s no longer used much today due to safety concerns.
If you’re replacing flashing, consider investing in a high-quality material that matches the longevity of your roof. Copper or stainless steel is typically the best in terms of long-term value.
Inspect the Flashing Regularly
The best way to ensure the flashing is doing its job is to get it regularly inspected by a trained professional. Most experts recommend an inspection twice a year, especially if you live in an area with harsh weather conditions. The inspector will look for rust or corrosion on metal flashing, cracked or missing mortar where the counter flashing meets the chimney, gaps or lifting along the seams, and water stains or damp spots in the attic or near the chimney.
Keep the Mortar and Sealant in Good Shape
Flashing works best when it’s tightly sealed against the chimney and roof. Over time, the mortar or caulk used to seal the edges can dry out, crack, or crumble. Use a high-quality, exterior-grade sealant made for roofing applications to fill in any small gaps or cracks.
For brick chimneys, repointing the mortar joints around the counter flashing may be necessary if the old mortar is deteriorating. Avoid using cheap or general-purpose caulks, as they tend to break down quickly under UV exposure and temperature fluctuations.
Make Sure the Flashing is Installed Correctly
Just like not all flashing is created equal, not all installers do a good job. Even the best materials will leak if the installation is not done correctly. Common installation mistakes include:
- Flashing is nailed directly to the chimney, rather than being embedded in the mortar joints.
- Counter flashing that doesn’t overlap step flashing enough.
- Missing corner pieces where water can collect.
- Using roofing tar as a substitute for metal flashing.
If your roof is being repaired or replaced, make sure the contractor inspects and, if necessary, replaces the flashing correctly. This isn’t an area where you want to cut corners.
Let Advanced Chimney Sweep Check Your Flashing
Advanced Chimney Sweep is the number one chimney and fireplace company in Georgia and South Carolina. We offer professional flashing inspections and repairs, chimney cleanings and inspections, fireplace installations, and more. Call us today!